
Download Komorebi — Tiling Window Manager
Auto-arrange your Windows desktop into clean, productive tiling layouts. BSP, columns, stacks, and more.
- BSP, column, stack, and grid layouts
- Full keyboard-driven workflow with whkd
- Custom window borders and gap spacing
- Near-zero CPU overhead, written in Rust
~ komorebic workspace-layout 0 0 bsp
~ komorebic adjust-container-padding 0 0 10
~ komorebic window-hiding-behaviour cloak
~ komorebic focus right
~ komorebic move left
~ komorebic toggle-float
~
What Makes Komorebi Different
A tiling window manager built from scratch in Rust for Windows 10 and 11. Komorebi gives you the kind of window management that Linux users have had for years.
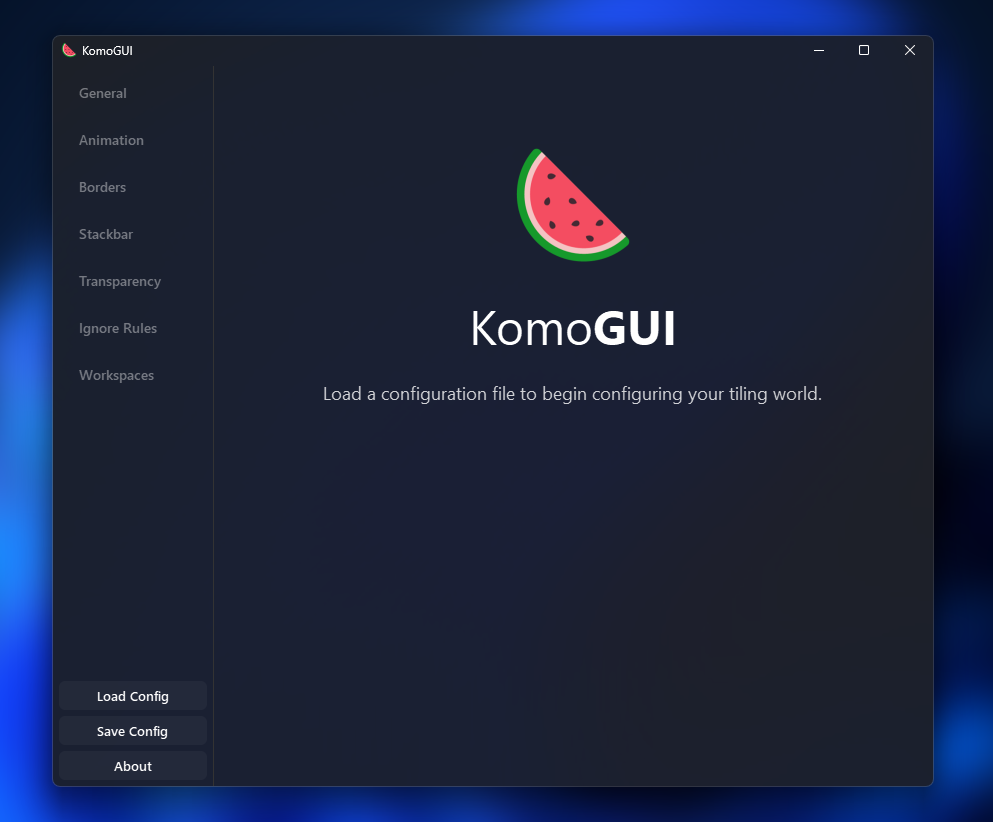
Multiple Tiling Layouts
Choose from BSP (binary space partitioning), columns, rows, vertical stacks, horizontal stacks, and grid layouts. Each workspace can run its own layout, so your coding setup stays separate from your browsing setup.
Keyboard-First Control
Pair Komorebi with whkd to bind every action to a hotkey. Move, resize, focus, and swap windows without touching the mouse. Your hands stay on the keyboard where they belong.
Multi-Monitor Workspaces
Run multiple virtual workspaces per monitor. Switch between them instantly and send windows across monitors with a single keystroke. Each monitor operates independently with its own layout rules.
Color-Coded Window Borders
Focused, stacked, and floating windows each get their own border color. At a glance, you know exactly which window is active and what state it is in. Border width and colors are fully configurable.
Rust-Powered Performance
Written entirely in Rust, Komorebi uses minimal CPU and memory. Window tiling operations happen in under a millisecond. No Electron, no Java runtime, no background resource drain.
JSON Configuration
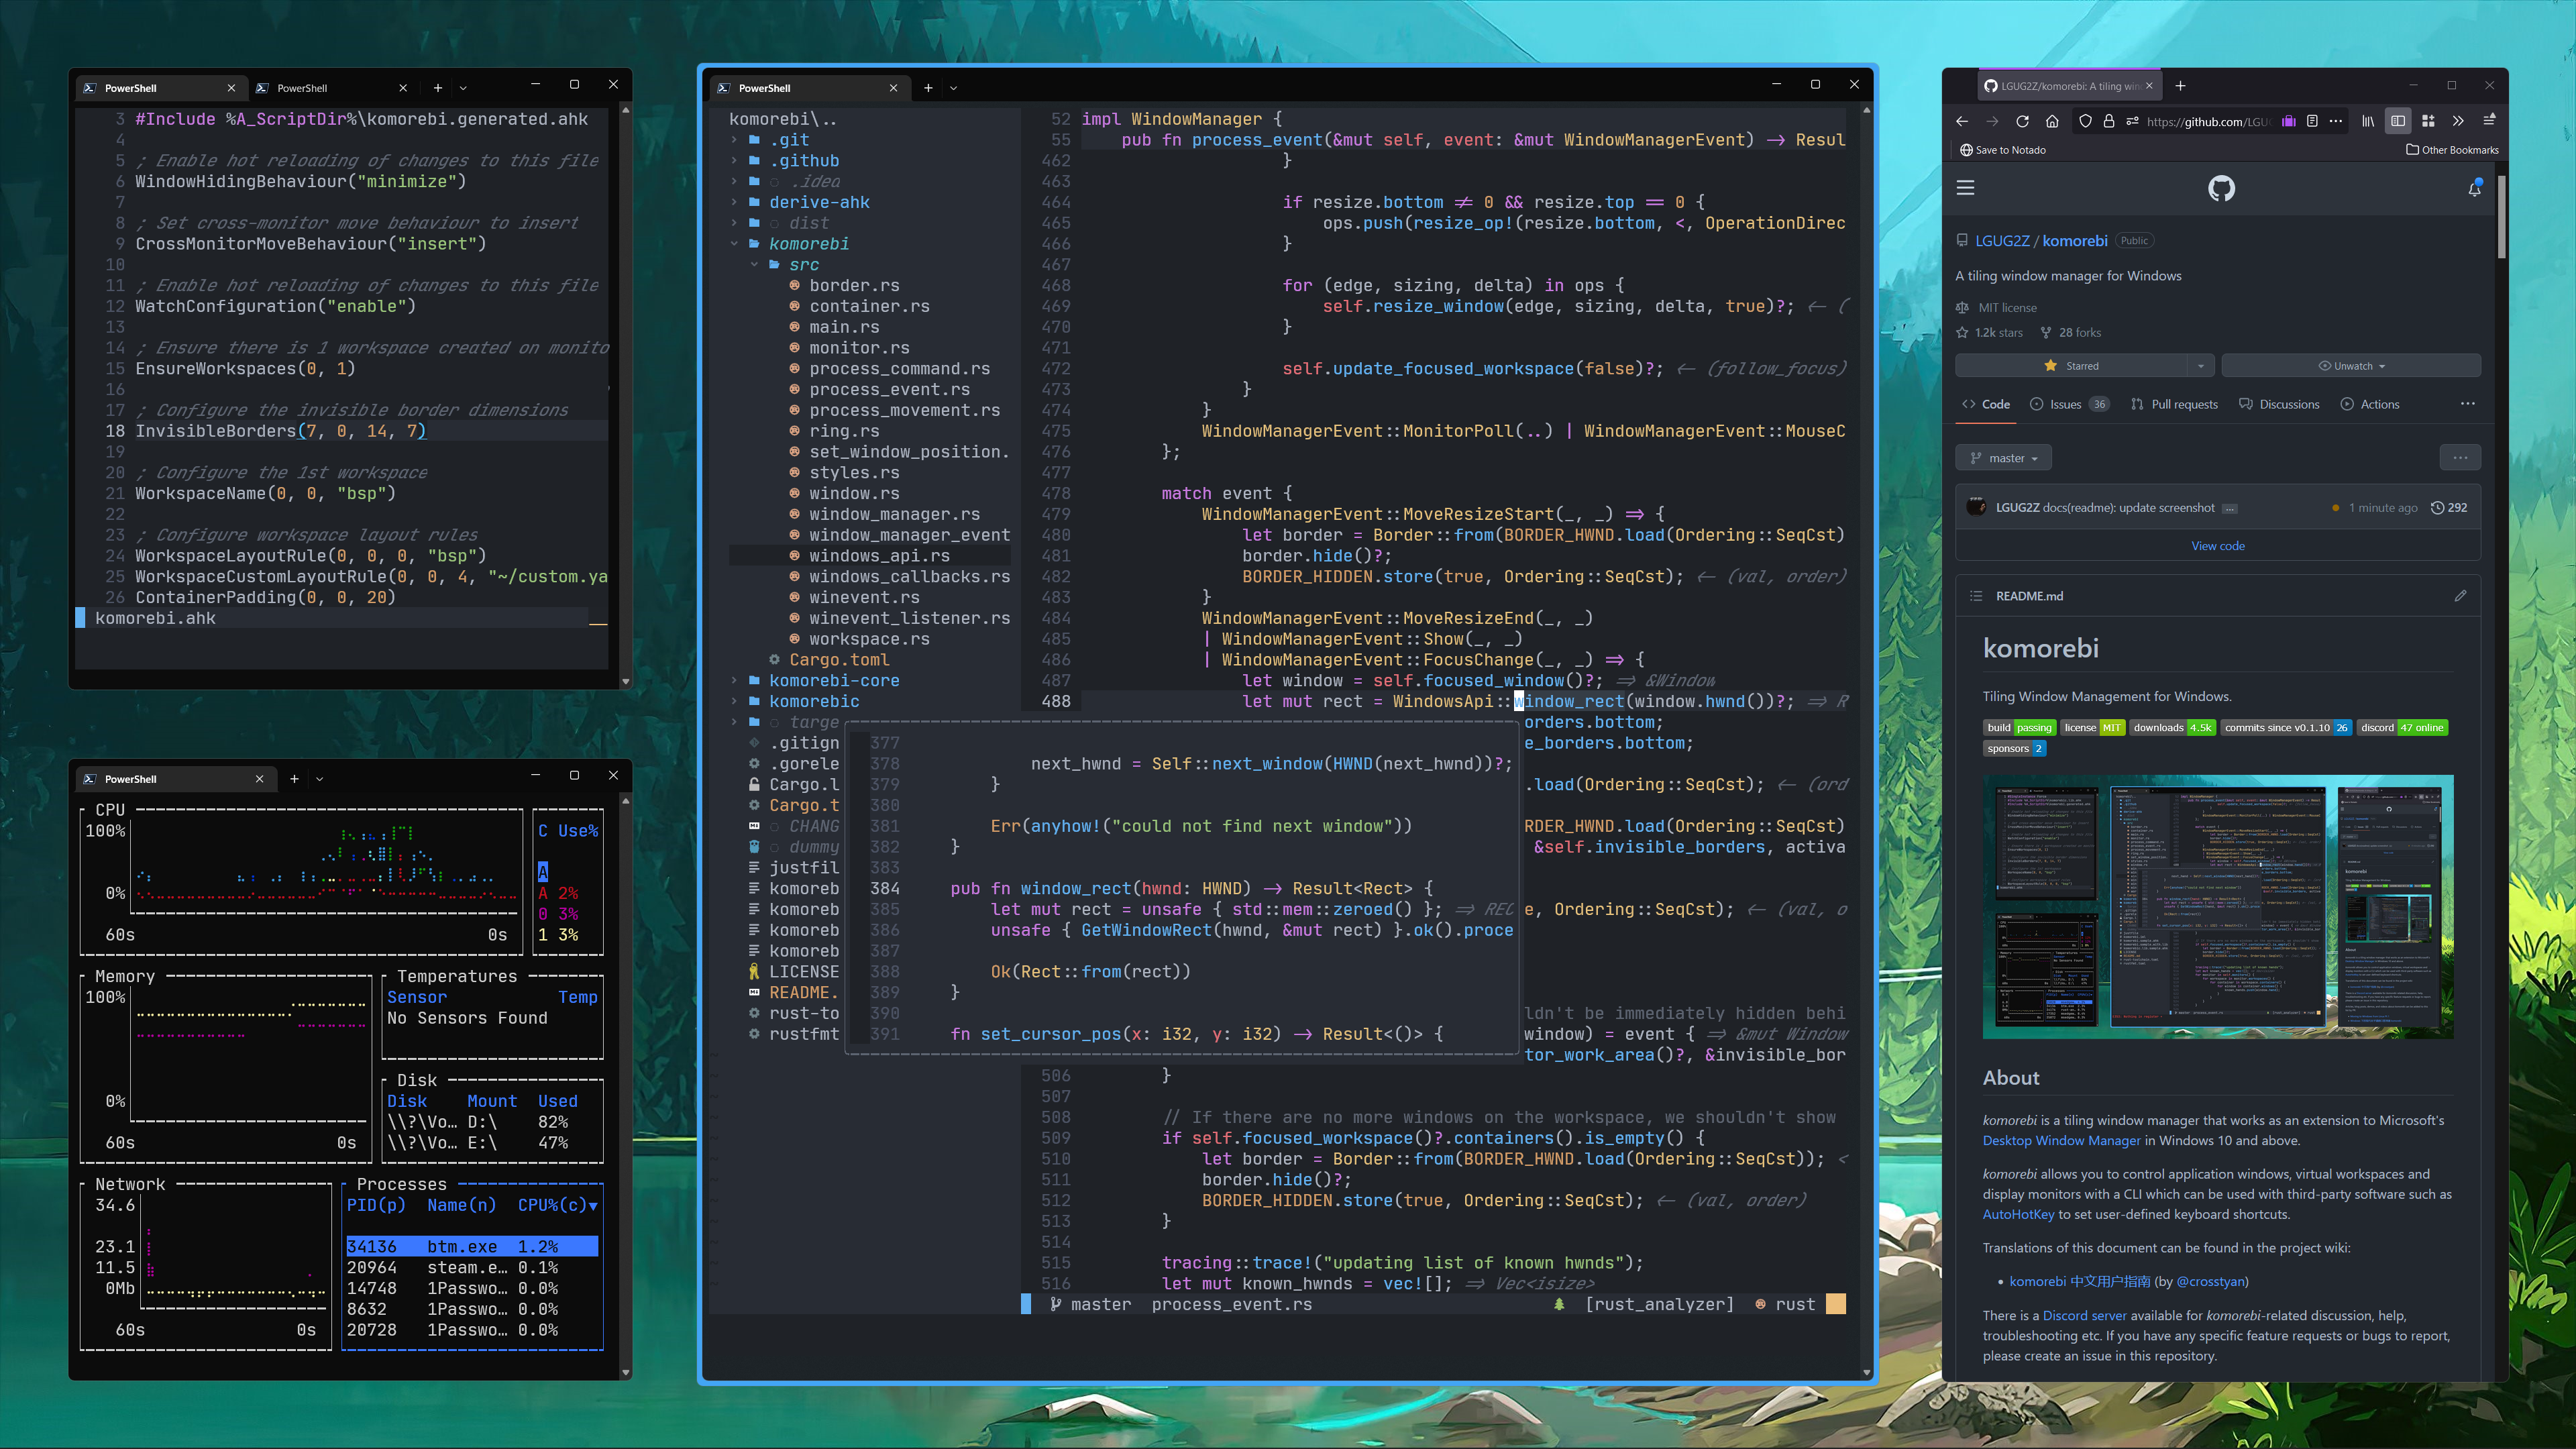
Your entire setup lives in a single komorebi.json file. Define layouts, gap sizes, window rules, and workspace assignments. Back it up, version it, share it on GitHub.
Application-Specific Rules
Force certain apps to always float, assign specific programs to designated workspaces, or exclude apps from tiling altogether. Komorebi respects how each application works best.
Adjustable Gaps and Padding
Set custom gaps between tiled windows and padding from screen edges. Fine-tune spacing per workspace so each layout feels exactly right for the apps you run on it.
Full CLI with komorebic
Every feature is accessible through komorebic, the command-line client. Script your window management, automate workspace setups at login, or build your own tooling around it.
Community Ecosystem
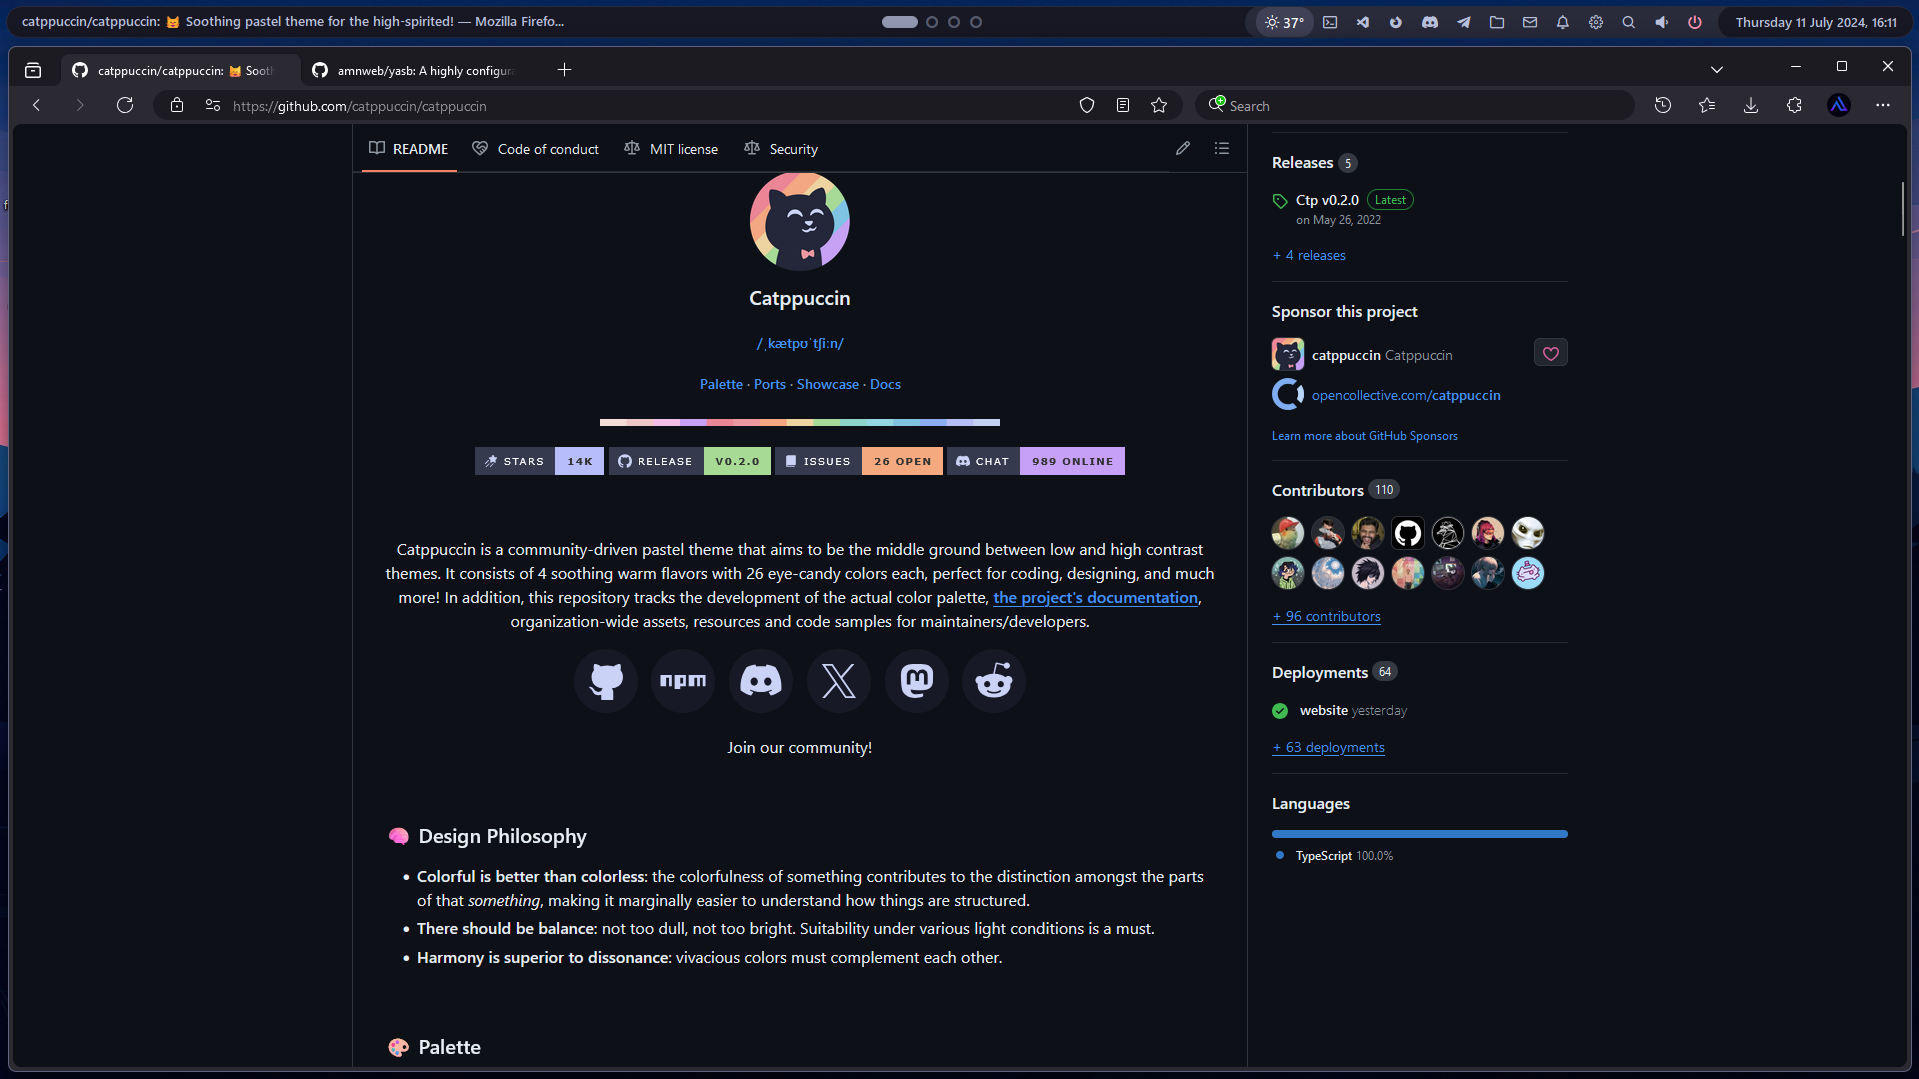
Works alongside YASB (Yet Another Status Bar) for workspace indicators and system widgets. The growing community shares configs, themes like Catppuccin, and workflow tips. Over 14,000 GitHub stars and counting.
Ready to try tiling? Download Komorebi and start organizing your desktop.
What Is Komorebi?
A tiling window manager that brings Linux-style workspace control to Windows 10 and Windows 11
Tiling That Actually Works on Windows
Komorebi is a tiling window manager built specifically for Windows 10 and Windows 11. It sits on top of the Desktop Window Manager (DWM) and takes over how your application windows are arranged, resized, and organized. Instead of manually dragging windows around, Komorebi tiles them automatically into clean, non-overlapping layouts the moment you open them.
Written entirely in Rust by developer LGUG2Z (Jado), the Komorebi app runs with minimal CPU overhead. The project has picked up over 14,200 stars on GitHub, mostly from developers and power users who wanted the kind of workspace tiling that Linux users have had for years through tools like i3 and bspwm.
How It Works
The Komorebi tool operates through a command-line interface called komorebic. You start the manager, pick a layout (BSP, columns, stacks, rows, or a custom grid), and your windows snap into place. Moving focus between windows, swapping positions, adjusting gaps, and toggling floating mode all happen through keyboard shortcuts configured via whkd, its companion hotkey daemon.
What makes Komorebi for Windows stand out from the built-in Snap Layouts is depth. You get per-monitor workspaces, configurable window borders color-coded by state (focused, stacked, floating), adjustable padding between tiles, and full control over which applications get managed and which stay floating. A JSON config file handles all persistent settings.
Who Is It For?
Komorebi is built for people who spend most of their day in multiple applications at once. Software developers running a terminal alongside VS Code and a browser. System administrators juggling monitoring dashboards. Data analysts switching between spreadsheets, notebooks, and documentation. If you have ever fought with overlapping windows on a large display or a multi-monitor setup, Komorebi solves that problem without any mouse interaction at all.
The learning curve leans toward the technical side since everything runs through the command line and config files. But once your keybinds and layout preferences are set, the workflow becomes second nature. The active community around Komorebi shares configs, themes (Catppuccin is the popular choice), and YASB status bar setups on Reddit and GitHub Discussions.
Ready to try it? Download Komorebi or jump to Getting Started for a setup walkthrough.
System Requirements
Komorebi is built in Rust and runs light. Here is what your system needs to tile windows properly.
| Component | Minimum | Recommended |
|---|---|---|
| Operating System | Windows 10 (version 1903+) | Windows 11 (latest update) |
| Processor | 64-bit CPU, 1 GHz dual-core | 64-bit CPU, 2 GHz quad-core or faster |
| RAM | 2 GB | 4 GB or more |
| Disk Space | 50 MB (binary + config files) | 100 MB (with companion tools) |
| Display | 1280 x 720, single monitor | 1920 x 1080+, multi-monitor setup |
| Window Manager | Desktop Window Manager (DWM) enabled | DWM with compositing active |
| Runtime | None – standalone Rust binary | whkd + YASB for full experience |
Ready to get started? Download Komorebi
Download Komorebi
Get the tiling window manager that transforms your Windows desktop. Install through your preferred package manager or grab the binary directly from GitHub.
Install via Package Manager
WinGet
Built into Windows 11. The simplest install path for most users.
Scoop
Popular with power users. Add the extras bucket first.
Cargo
Build from source with Rust’s package manager.
Komorebi is free for personal use under the Komorebi License 2.0.0.
For commercial licensing, visit the official GitHub repository.
You will also want to install whkd (hotkey daemon) for keyboard shortcuts — run winget install LGUG2Z.whkd after installing Komorebi.
Screenshots
See Komorebi in action — tiled layouts, custom borders, and a clean desktop workflow on Windows.

Getting Started with Komorebi
From installation to your first tiling layout in under ten minutes. This walkthrough covers everything you need to turn your Windows desktop into a keyboard-driven workspace.
Downloading Komorebi
Head to our download section above to grab the latest release of Komorebi (v0.1.40, about 15 MB). Komorebi is a Windows-only tiling window manager, so you will need Windows 10 or Windows 11.
You have several ways to install it. The recommended method is WinGet, which ships with Windows 11 and most up-to-date Windows 10 installs. If you prefer package managers, Scoop works well too. Both handle PATH setup and updates automatically. Advanced users can compile from source using Cargo (Rust toolchain required), though this takes longer and needs the Visual Studio 2019 Build Tools.
If you go the manual route via GitHub Releases, you will download a zip file containing komorebi.exe, komorebic.exe, and komorebi-bar.exe. Extract them to a permanent folder (like C:komorebi) and add that folder to your system PATH. Without adding it to PATH, none of the terminal commands below will work.
Komorebi also needs a companion tool called whkd for keyboard shortcuts. Install whkd at the same time — the WinGet and Scoop methods below handle both in one go.
Installation Walkthrough
Before installing, open an Administrator PowerShell or Windows Terminal (Admin) and enable long path support. This is a one-time step that prevents file path errors:
Now install Komorebi and whkd. Pick one method:
WinGet (recommended):
Scoop:
After installation finishes, close and reopen your terminal so the updated PATH takes effect. Verify the install by running:
You should see something like komorebic 0.1.40. If you get a “command not found” error, the PATH variable was not updated. Restart your terminal or check that the install folder is on your system PATH.
No traditional installer wizard appears here. There is no .exe setup dialog, no checkboxes to untick, and no bundled browser toolbars. Komorebi installs cleanly as a command-line binary and sits quietly until you start it.
Initial Setup & Configuration
Komorebi uses a JSON configuration file. Instead of writing one from scratch, run the quickstart command. This downloads three ready-made config files to your home directory:
This creates:
- %USERPROFILE%komorebi.json — main config (layouts, borders, gaps, window rules)
- %USERPROFILE%.configwhkdrc — keyboard shortcut bindings
- %USERPROFILE%applications.yaml — community-maintained rules for hundreds of apps (Steam, Discord, Spotify, etc.)
Open komorebi.json in any text editor. The settings you should adjust right away:
- default_workspace_padding (default: 10) — the gap in pixels between windows and the screen edge. Try 8 for tighter layouts or 16 for more breathing room.
- default_container_padding (default: 10) — the gap between individual tiled windows. Match this to your workspace padding for a consistent look.
- window_hiding_behaviour — set this to
"Cloak". The older"Hide"option is deprecated and breaks Electron apps like VS Code and Discord."Cloak"uses a cleaner Win32 API method. - border (true/false) — enables the colored window borders. This is a signature Komorebi visual. Keep it
true. - border_width (default: 8) — thickness of the colored border around windows in pixels.
komorebic check after editing komorebi.json. It validates the JSON and catches typos before you start komorebi.
Your First Tiling Session
With your config files in place, start Komorebi. Open a terminal and run:
The --whkd flag launches the hotkey daemon alongside Komorebi. Add --bar if you also want the Komorebi status bar at the top of your screen showing workspace indicators and system stats.
The moment Komorebi starts, every open window snaps into a BSP (Binary Space Partitioning) layout by default. Your screen splits evenly. Open a second window and it tiles beside the first. Open a third and the space divides again. This is the core of how Komorebi works — no dragging, no snapping, just automatic arrangement.
Try these actions to get a feel for the controls:
| Shortcut | Action |
|---|---|
| Alt + H / J / K / L | Focus window left / down / up / right |
| Alt + Shift + H / J / K / L | Move window left / down / up / right |
| Alt + 1 through 7 | Switch to workspace 1-7 |
| Alt + Shift + 1 through 7 | Move window to workspace 1-7 |
| Alt + T | Toggle float (free-move the focused window) |
| Alt + Shift + F | Toggle monocle (fullscreen single window) |
| Alt + Enter | Promote focused window to main position |
| Alt + O | Reload configuration (after editing config) |
| Alt + P | Pause / resume Komorebi |
A quick exercise: Open three windows — a browser, a text editor, and a terminal. Press Alt + L to focus right, Alt + H to focus left. Now press Alt + Shift + L to move the focused window to the right side. Press Alt + Enter to promote a window to the main (largest) position. Within a minute you will have a feel for how window navigation works.
To switch layouts, press Alt + ; to cycle through BSP, Columns, Rows, VerticalStack, and HorizontalStack. Each layout arranges your windows differently. BSP gives you the classic tiling grid. VerticalStack puts the main window on the left with everything else stacked on the right.
If a window should not be tiled (like the Windows Settings app or a game), press Alt + T to float it. The window gets a pink border to show it is floating and can be dragged freely.
komorebic enable-autostart --whkd --bar to add a shortcut to your Windows startup folder.
Tips, Tricks & Best Practices
Keep community app rules updated. Run komorebic fetch-app-specific-configuration periodically. This downloads the latest applications.yaml with float and ignore rules for hundreds of apps. Without these rules, apps like Steam popups or Windows Settings dialogs get force-tiled and look broken.
Do not edit applications.yaml directly. Your changes get overwritten the next time you fetch updates. Put all your custom window rules in komorebi.json under floating_applications, manage_rules, or ignore_rules instead.
Use named workspaces. In komorebi.json, give each workspace a name (like “dev”, “web”, “chat”) rather than relying on index numbers. You can then assign apps to specific workspaces with workspace rules, so your browser always opens on workspace 2 and your terminal on workspace 1.
Multi-monitor users: Run komorebic monitor-info to find your monitor serial numbers, then set display_index_preferences in komorebi.json. This pins each monitor to a consistent index so your layouts do not scramble when you reconnect displays.
Debug invisible windows: If a window seems to vanish, run komorebic visible-windows to see every managed window and its state. You may need to add the offending app to your ignore rules.
Ready to install? Grab Komorebi from our download section and start tiling your desktop.
Frequently Asked Questions
Answers to the most common questions about downloading, installing, and configuring Komorebi on Windows.
Is Komorebi safe to download and install?
Yes, Komorebi is safe to download and install. The project is fully open-source with over 14,200 stars on GitHub, where every line of code is publicly auditable. The Rust source code is compiled into a single binary with no bundled adware, telemetry, or background services beyond the window manager itself.
Komorebi is developed by LGUG2Z (Jado), a well-known developer in the Windows customization community. The binary is distributed through trusted package managers including WinGet (Microsoft’s official package manager), Scoop, and Cargo. Each release is tagged and versioned on GitHub with full changelogs. Windows SmartScreen may flag the binary on first run because it lacks a commercial code-signing certificate, but this is standard for open-source tools distributed outside the Microsoft Store.
- Source code is publicly auditable at
github.com/LGUG2Z/komorebi - Distributed through WinGet, Scoop, and Cargo — all verified package managers
- No installer bloatware, no toolbar prompts, no telemetry collection
- Binary is around 15 MB, written entirely in Rust
Pro tip: If Windows Defender or SmartScreen blocks the binary, right-click the file and select “Properties,” then check “Unblock” at the bottom of the General tab. This only needs to happen once.
For download links from the official source, visit our Download section.
Is Komorebi free from malware and spyware?
Komorebi is completely free from malware and spyware. The entire codebase is open-source under the Komorebi License 2.0.0 (a PolyForm Strict derivative), and anyone can audit the source on GitHub to verify this claim. There are no hidden network requests, no data collection endpoints, and no analytics.
Because Komorebi is written in Rust and compiled to a standalone binary, it does not depend on external runtime libraries that could introduce supply-chain vulnerabilities. The project has been active since 2021 with hundreds of contributors reviewing the code. Community members on Reddit and Hacker News have repeatedly confirmed the software is clean. The v0.1.40 release (February 2026) was scanned clean on VirusTotal with zero detections across major antivirus engines.
- No network calls for data collection or phone-home behavior
- No bundled third-party software or browser extensions
- Rust’s memory safety model prevents common exploit vectors
- Active Discord community with over 3,000 members monitoring for issues
Pro tip: Always download Komorebi through WinGet (winget install LGUG2Z.komorebi) or Scoop to guarantee you are getting the official, untampered binary directly from the developer’s signed releases.
See our Features overview for more on what Komorebi does and does not do.
Where is the official safe download for Komorebi?
The official download sources for Komorebi are the GitHub releases page and the WinGet/Scoop package repositories. Our Download section links directly to these official sources so you can get the latest version without visiting third-party mirrors.
Komorebi v0.1.40 is the latest stable release as of February 2026. The binary is roughly 15 MB and is available as a standalone executable. You should avoid downloading Komorebi from random file-hosting sites or unofficial mirrors, since these could bundle unwanted software or outdated versions missing critical bug fixes.
- Use WinGet from any terminal:
winget install LGUG2Z.komorebi - Or use Scoop:
scoop bucket add extrasthenscoop install komorebi - Or download the .exe directly from GitHub Releases at
github.com/LGUG2Z/komorebi/releases - For Rust developers:
cargo install komorebibuilds from source
Pro tip: WinGet is the fastest method since it also handles PATH configuration automatically. Scoop is preferred if you want easy version switching with scoop update komorebi.
Visit our Getting Started guide for a full installation walkthrough.
Does Komorebi work on Windows 11?
Yes, Komorebi works on both Windows 10 and Windows 11. It is built on top of the Desktop Window Manager (DWM) that ships with both operating systems, so there are no compatibility issues with newer Windows 11 builds including 24H2.
On Windows 11, Komorebi handles the new Snap Layouts and rounded corners gracefully. Some users disable the built-in Windows 11 Snap features to prevent conflicts with Komorebi’s tiling logic. The developer (LGUG2Z) tests every release on Windows 11 VMs, and the official quickstart tutorial was recorded on a fresh Windows 11 installation. Users on Reddit confirm stable performance on Windows 11 across Intel, AMD, and ARM-based Surface devices.
- Full support for Windows 10 version 1903 and later
- Full support for Windows 11 (all versions through 24H2)
- Works with multiple monitors, high-DPI displays, and mixed-DPI setups
- Disable “Snap windows” in Settings > System > Multitasking to avoid conflicts
Pro tip: On Windows 11, add "stackbar": { "mode": "Never" } to your komorebi.json if you find the experimental stack bar visually conflicts with Win11’s rounded title bars.
Check our System Requirements section for full hardware specs.
What are the minimum system requirements for Komorebi?
Komorebi has minimal system requirements. It needs Windows 10 (version 1903 or later) or Windows 11, and the Desktop Window Manager must be running, which it is by default on all modern Windows installations.
The binary itself is about 15 MB on disk. At runtime, Komorebi typically uses between 15-40 MB of RAM depending on how many windows and workspaces are active. CPU usage hovers near 0% during normal operation since Komorebi only processes events when windows change state. There is no GPU requirement beyond what Windows itself needs for DWM compositing. The software runs comfortably on budget laptops, older desktops, and virtual machines.
- OS: Windows 10 v1903+ or Windows 11
- RAM: 50 MB free (the binary uses roughly 15-40 MB at runtime)
- Disk: 20 MB for the binary and configuration files
- CPU: Any x86_64 processor — single-threaded, near-zero idle usage
- Dependencies: Desktop Window Manager (enabled by default), optional whkd for hotkeys
Pro tip: If you are running Komorebi inside a virtual machine for testing, make sure DWM composition is enabled in the VM settings. VirtualBox and VMware both support this with 3D acceleration turned on.
See the System Requirements table for a full breakdown of minimum vs. recommended specs.
Does Komorebi work on macOS or Linux?
No, Komorebi is a Windows-only tiling window manager. It is specifically designed to extend the Windows Desktop Window Manager (DWM) and does not run on macOS or Linux.
Komorebi was built to fill a gap that macOS and Linux users do not have. On macOS, alternatives include yabai and Amethyst. On Linux, there are dozens of mature tiling WMs including i3wm, Sway, Hyprland, bspwm, and dwm. The developer LGUG2Z was actually a former yabai user on macOS who switched to Windows and created Komorebi because nothing comparable existed. Komorebi’s BSP (binary space partitioning) layout algorithm is directly inspired by bspwm on Linux.
- macOS alternatives: yabai (most similar to Komorebi), Amethyst, Rectangle Pro
- Linux alternatives: i3wm, Sway, Hyprland, bspwm, dwm, awesome
- Windows only: Requires DWM, Win32 API, and Windows-specific window management hooks
Pro tip: If you use both Windows and macOS, pair Komorebi on Windows with yabai on macOS. Both support BSP tiling, and you can configure similar keybindings across both tools for a consistent workflow.
Learn more about what makes Komorebi unique in our Features section.
Is Komorebi completely free to use?
Komorebi is free for personal use. The software is released under the Komorebi License 2.0.0, which is a derivative of the PolyForm Strict license. This means individuals can download, install, and use Komorebi at no cost on their personal computers.
The license allows free personal use but requires a commercial license (via GitHub Sponsors) for use in business or corporate environments. This is a deliberate choice by developer LGUG2Z to keep the project sustainable while staying free for hobbyists and individual developers. The source code is fully open and readable on GitHub — you can build it yourself from source using cargo install komorebi at no cost. All companion tools like whkd (hotkey daemon) and community tools like YASB (status bar) are also free.
- Free for personal, non-commercial use
- Commercial use requires sponsoring the developer via GitHub Sponsors
- Source code is open and auditable on GitHub
- No feature restrictions between personal and commercial use
Pro tip: If you use Komorebi daily and find it valuable, consider sponsoring LGUG2Z on GitHub. Sponsorship tiers start at $2/month and directly fund ongoing development.
Download the latest free version from our Download section.
What is the Komorebi License 2.0.0 and what does it allow?
The Komorebi License 2.0.0 is a custom license derived from the PolyForm Strict license. It allows free personal use of Komorebi while restricting commercial use without authorization from the developer.
Unlike MIT or GPL licenses commonly used in open-source projects, the Komorebi License does not grant blanket permission for all use cases. Personal users, students, and hobbyists can use Komorebi freely. If you work at a company and want to use Komorebi on your work machine, you need to sponsor the project via GitHub Sponsors. The developer made this decision publicly, and it was discussed extensively on Hacker News and Reddit. GlazeWM, a competitor, uses the MIT license which has no such restriction — this is one of the key differences between the two projects.
- Personal use: Free, no restrictions
- Commercial use: Requires GitHub Sponsorship authorization
- Source code: Fully open and readable
- Redistribution: Not permitted without permission
- Modification: Allowed for personal use; PRs welcome on GitHub
Pro tip: Read the full license text at github.com/LGUG2Z/komorebi/blob/master/LICENSE.md before deploying Komorebi in any workplace environment.
For more on the project’s background, see our Overview section.
How do I download and install Komorebi step by step?
The fastest way to install Komorebi is through WinGet or Scoop. Both methods handle the binary installation and PATH setup automatically, taking under two minutes on most systems.
Komorebi v0.1.40 (the latest release as of February 2026) is a 15 MB Rust binary that does not require a traditional installer. You also need whkd for keyboard shortcut bindings, which installs separately through the same package managers. The initial configuration involves creating a komorebi.json file and a whkdrc file in your home directory.
- Open PowerShell or Windows Terminal as a regular user (not admin)
- Run
winget install LGUG2Z.komorebito install the window manager - Run
winget install LGUG2Z.whkdto install the hotkey daemon - Generate starter configs:
komorebic quickstart(creates komorebi.json and whkdrc in your home folder) - Start Komorebi:
komorebic start --whkd(launches both the WM and hotkey daemon) - Open 2-3 windows to see automatic tiling in action
Pro tip: Run komorebic quickstart before editing any config files. It generates working defaults that you can customize later. Many new users try to write configs from scratch and end up with broken setups.
Our Getting Started guide walks through every step with additional detail on configuration.
How to fix Komorebi installation errors on Windows?
Most Komorebi installation errors stem from PATH configuration issues or conflicts with existing software. The most common error is “komorebic is not recognized” after installing, which means the binary is not in your system PATH.
If you installed via WinGet but the terminal does not recognize komorebic, close and reopen your terminal. WinGet updates PATH but existing terminal sessions do not pick up the change automatically. If you installed via Scoop, make sure the Scoop shims directory (%USERPROFILE%scoopshims) is in your PATH. Another common issue is the “os error 10061” connection refused message, which happens when you try to run komorebic commands before starting the window manager process.
- PATH not found: Close all terminal windows and reopen them after installation
- Connection refused (10061): Run
komorebic startfirst, then run other commands - Config not found: Run
komorebic quickstartto generate default configuration files - Symlink error: If your
komorebi.jsonis a symlink, use a real file instead — symlinked configs can prevent startup (known issue #1454) - Antivirus blocking: Add
komorebic.exeandkomorebi.exeto your antivirus exclusion list
Pro tip: Check the log file at %LOCALAPPDATA%komorebikomorebi.log for detailed error messages. This log captures every event and is the first place the developer asks you to look when reporting bugs.
See our Getting Started guide for a full installation walkthrough.
How do I set up Komorebi to start automatically on login?
Komorebi supports automatic startup through its built-in autostart command or through Windows Task Scheduler. The simplest method is komorebic enable-autostart --whkd, which creates a scheduled task that launches Komorebi and whkd when you log in.
The autostart command registers a Windows Task Scheduler entry that runs at user logon. This is more reliable than placing a shortcut in the Startup folder because Task Scheduler can handle dependencies and timing. The --whkd flag ensures your hotkey daemon starts alongside the window manager. If you use YASB (Yet Another Status Bar) as your status bar, you need to configure its autostart separately through YASB’s own settings.
- Run
komorebic enable-autostart --whkdin your terminal - To verify: open Task Scheduler and look for “komorebi” under Task Scheduler Library
- Restart your computer to confirm it starts automatically
- To disable later:
komorebic disable-autostart
Pro tip: If you experience a brief flicker of untiled windows at login, add a 2-3 second delay in the Task Scheduler trigger properties. This gives DWM time to fully initialize before Komorebi starts managing windows.
For full configuration details, visit our Getting Started guide.
How to fix Komorebi not tiling certain windows?
Some applications resist tiling because they use non-standard window classes or have popup windows that Komorebi should not manage. The fix is to add application-specific rules to your komorebi.json configuration file.
Komorebi maintains a community list called “applications.yaml” that contains pre-configured rules for hundreds of apps known to behave unexpectedly. Apps like Visual Studio 2022, OBS Studio, and REAPER have been reported as problematic on GitHub. The issue tracker labels these as “apps-behaving-badly.” For each problem app, you can set tiling rules like force (always tile), float (always float), or exclude (ignore entirely) based on the window class name or process name.
- Run
komorebic stateto see which windows Komorebi is currently managing - Identify the problem app’s process name or window class
- Add a rule in
komorebi.jsonunder the “float_rules” or “manage_rules” array - Reload config:
komorebic reload-configuration - If the app still misbehaves, file an issue on GitHub with the window class info
Pro tip: Use komorebic identify-window while focusing a problem window to get its exact class name and process info. This saves time compared to using Spy++ or other inspection tools.
Check the Features section for more on Komorebi’s window management rules.
Why are my windows shrinking or overlapping after switching virtual desktops?
This is a known issue (GitHub issue #15) caused by conflicts between Komorebi’s workspace system and Windows’ built-in virtual desktops. The recommended solution is to use Komorebi’s own workspace system instead of Windows virtual desktops.
Komorebi manages its own set of workspaces (up to 10 per monitor), and these are independent from Windows’ virtual desktop feature. When you switch between Windows virtual desktops, DWM sends minimize/restore events that can confuse Komorebi’s layout engine, causing windows to shrink or stack incorrectly. This behavior has been present since early versions and is difficult to fully resolve because of how Windows DWM handles virtual desktop transitions internally.
- Use
komorebic focus-workspace [index]instead of Win+Ctrl+Arrow for desktop switching - Bind workspace switching to hotkeys in your
whkdrcfile (e.g., Alt+1 through Alt+9) - If windows get stuck, run
komorebic restore-windowsto reset layouts - Disable Windows virtual desktops entirely if you only use Komorebi workspaces
Pro tip: Add "mouse_follows_focus": true to your komorebi.json so your cursor automatically moves to the focused window when switching workspaces. This makes the switch feel more natural.
See our Getting Started guide for workspace configuration details.
Komorebi stopped working after a Windows update – how to fix?
Windows updates occasionally break Komorebi by changing DWM behavior or resetting permissions. The fix is usually to update Komorebi to the latest version, which includes patches for new Windows builds.
Major Windows feature updates (like moving from 23H2 to 24H2) have historically caused temporary issues with window border rendering and workspace switching. The Komorebi developer monitors Windows Insider builds and typically pushes fixes within 1-2 weeks of a major Windows release. Minor quality updates (KB patches) rarely cause problems. If Komorebi fails to start after an update, the log file at %LOCALAPPDATA%komorebikomorebi.log will contain specific error details.
- Update Komorebi:
winget upgrade LGUG2Z.komorebiorscoop update komorebi - Stop and restart:
komorebic stopthenkomorebic start --whkd - If windows are stuck:
komorebic restore-windows - Check logs: open
%LOCALAPPDATA%komorebikomorebi.logfor error details - If the issue persists, check GitHub Issues for your specific Windows build number
Pro tip: Pin your Komorebi version with winget pin add LGUG2Z.komorebi to prevent accidental updates. Then update manually after checking the release notes for compatibility with your Windows version.
Visit our Download section to get the latest version.
How do I update Komorebi to the latest version?
Update Komorebi through the same package manager you used to install it. The process takes under a minute and preserves your existing configuration files.
Komorebi does not have a built-in auto-update mechanism. You need to update manually using WinGet, Scoop, or Cargo. The latest version is v0.1.40, released February 14, 2026. Updates only replace the binary — your komorebi.json, whkdrc, and application rules are stored in your user profile and are never overwritten. After updating, you should stop and restart Komorebi to load the new binary.
- WinGet:
winget upgrade LGUG2Z.komorebi - Scoop:
scoop update komorebi - Cargo:
cargo install --force komorebi - After updating:
komorebic stopthenkomorebic start --whkd - Verify:
komorebic --versionshould show the new version number
Pro tip: Subscribe to releases on the GitHub repository (Watch > Custom > Releases) to get notified when new versions drop. Major releases sometimes require config file changes, which are documented in the release notes.
Get the latest version from our Download section.
What is new in Komorebi v0.1.40?
Komorebi v0.1.40 was released on February 14, 2026 with bug fixes, performance improvements, and refined multi-monitor support. It is the latest stable version and the recommended download for all users.
The 0.1.x release series has been actively developed since late 2024, with frequent point releases addressing community-reported issues. Recent versions have focused on improving the experimental window border feature, fixing edge cases with stacked layouts, and improving workspace switching reliability on multi-monitor setups. The project averages 2-3 releases per month. Each release is tagged on GitHub with detailed changelogs listing every commit.
- Improved multi-monitor workspace switching stability
- Bug fixes for window border rendering artifacts on high-DPI displays
- Better handling of apps that change window size dynamically
- Performance improvements to event processing pipeline
- Updated community applications.yaml rules for new app versions
Pro tip: After any major update, run komorebic check-config (if available in your version) to verify your configuration file is compatible with the new release. Breaking config changes are rare but documented in release notes.
Download the latest version from our Download section.
Komorebi vs GlazeWM – which tiling window manager is better?
Komorebi and GlazeWM are the two most popular tiling window managers for Windows, and each excels in different areas. Komorebi offers deeper customization and a more powerful rule engine, while GlazeWM is simpler to set up and has a gentler learning curve.
Komorebi uses a CLI-based configuration model with JSON config files and an external hotkey daemon (whkd). GlazeWM uses a single YAML configuration file with built-in keybinding support, making initial setup faster. Komorebi’s BSP tiling algorithm offers more dynamic layout control, while GlazeWM’s approach is closer to i3wm’s manual tiling. On the licensing side, GlazeWM uses the MIT license (fully free for all use), while Komorebi requires sponsorship for commercial use.
- Ease of setup: GlazeWM wins — single YAML config vs. Komorebi’s JSON + whkd + applications.yaml
- Customization depth: Komorebi wins — more layout algorithms, per-app rules, dynamic workspace control
- Stability: GlazeWM is generally considered more stable after its recent rewrite; Komorebi has more open bugs but also more features
- Performance: Both are lightweight; Komorebi (Rust) and GlazeWM (C#/.NET) both use minimal CPU
- Community: Komorebi has 14,200+ GitHub stars; GlazeWM has a growing but smaller community
- License: GlazeWM = MIT (free for everything); Komorebi = PolyForm Strict (free personal use only)
Pro tip: Try both for a week each. GlazeWM is easier to start with if you have never used a tiling WM before. Migrate to Komorebi later if you need advanced features like custom border colors, workspace rules per monitor, or the cloaking-based window hiding.
See our Features section for a detailed look at what Komorebi offers.
How do I configure custom window borders and gap spacing in Komorebi?
Komorebi supports custom colored window borders and configurable gap spacing between tiled windows. Both features are controlled through the komorebi.json configuration file.
Window borders are color-coded by state: blue for the focused window, green for stacked windows, and pink for floating windows. These match the Catppuccin Mocha color scheme that the Komorebi community has adopted as a de facto standard. Gap spacing controls the pixel distance between tiled windows and between windows and screen edges, which reveals your desktop wallpaper beneath. The default gap is 10 pixels. Most users in the r/unixporn and r/desktops communities use 8-20 pixel gaps for aesthetics.
- Open your
komorebi.json(located in%USERPROFILE%) - Set border colors:
"active_window_border_colours": { "single": "#89b4fa", "stack": "#a6e3a1", "monocle": "#f5c2e7" } - Set gap size:
komorebic adjust-container-padding 0 0 [pixels]or set it in JSON - Set outer gaps:
komorebic adjust-workspace-padding 0 0 [pixels] - Reload:
komorebic reload-configuration
Pro tip: Use the Catppuccin color palette for borders (#89b4fa blue, #a6e3a1 green, #f5c2e7 pink) and pair it with YASB status bar using the same theme. The visual consistency across borders, bar, and terminal makes for a polished desktop setup.
Check our Features section for more customization options.
Can I use Komorebi with multiple monitors and separate workspaces?
Yes, Komorebi has full multi-monitor support with independent workspaces per monitor. Each monitor can have up to 10 named workspaces, and you can move windows between monitors and workspaces freely using keyboard commands.
Multi-monitor handling is one of Komorebi’s strongest features. Each monitor maintains its own set of workspaces with independent layouts — you can run BSP tiling on your main monitor and a stacked layout on a secondary display. Mixed DPI configurations (like a 4K main display and a 1080p secondary) are supported, though some users report minor alignment issues on displays with different scaling factors. The komorebic CLI exposes per-monitor workspace commands for fine-grained control.
komorebic focus-monitor [index]— switch focus to a specific monitorkomorebic move-to-monitor [index]— move the focused window to another monitorkomorebic focus-workspace [index]— switch workspace on current monitorkomorebic send-to-workspace [index]— send window to a workspace on any monitor- Configure per-monitor layouts in
komorebi.jsonunder the “monitors” array
Pro tip: Bind Alt+Comma and Alt+Period to komorebic cycle-monitor previous and komorebic cycle-monitor next in your whkdrc. This lets you cycle focus between monitors without remembering index numbers.
For setup details, see our Getting Started guide.
How do I completely uninstall Komorebi from my computer?
Uninstalling Komorebi is straightforward because it does not modify system files or the Windows registry beyond basic PATH entries. Stop the process first, then remove it through your package manager.
Komorebi stores its configuration in your user profile folder and its log/state files in %LOCALAPPDATA%komorebi. The binary itself lives in the package manager’s directory (Scoop shims or WinGet install path). No Windows services are registered, no drivers are installed, and no DLLs are injected into other processes. After uninstallation, your windows return to default Windows behavior immediately.
- Stop Komorebi:
komorebic stop - Disable autostart:
komorebic disable-autostart - Uninstall via WinGet:
winget uninstall LGUG2Z.komorebi - Or via Scoop:
scoop uninstall komorebi - Remove config files: delete
%USERPROFILE%komorebi.jsonand%USERPROFILE%whkdrc - Remove logs: delete the
%LOCALAPPDATA%komorebifolder
Pro tip: Before uninstalling, run komorebic restore-windows to make sure no windows are hidden in Komorebi’s internal state. This prevents any “ghost” windows from being invisible after removal.
If you want to try again later, visit our Download section to reinstall.
Still have questions? Check the Komorebi GitHub Discussions or join the community Discord.